Fix ‘File Explorer Search Really Slow on Windows 10’ Issue (2021)
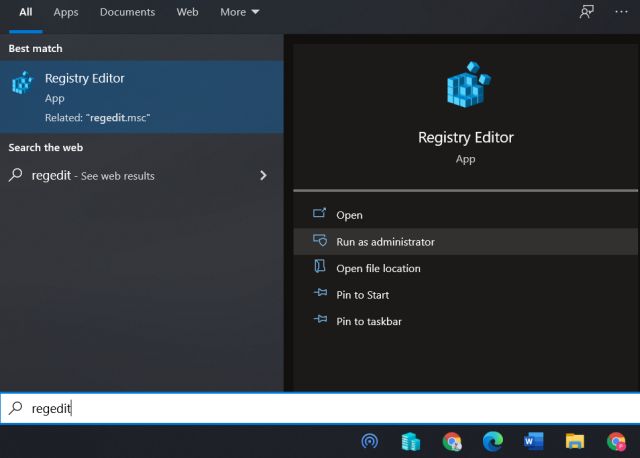
First of all, press the Windows key once and type “regedit” in the search bar. After that, click on “Run as Administrator”.
Next, copy the file path below and paste it in the address bar of Registry Editor. After that, hit ‘Enter,’ and it will take you to the ‘Search’ directory.
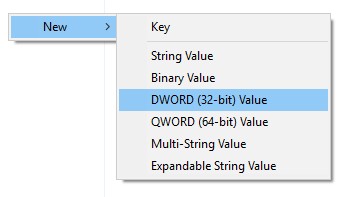
Here, right-click on the empty space and choose New -> D-WORD (32-bit) Value.
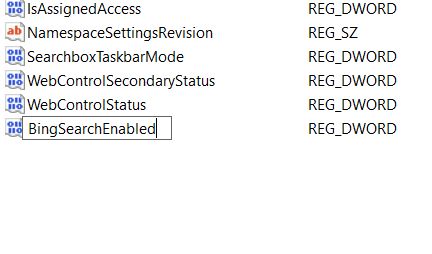
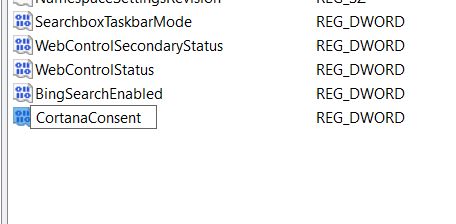
Now, rename it to BingSearchEnabled and hit enter to save it.
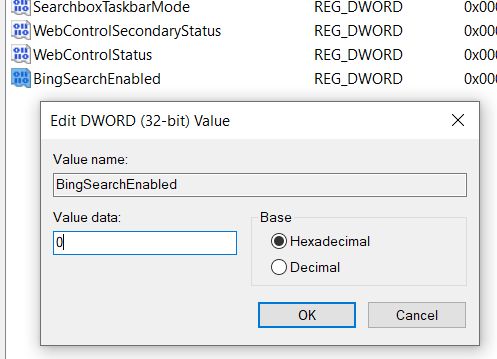
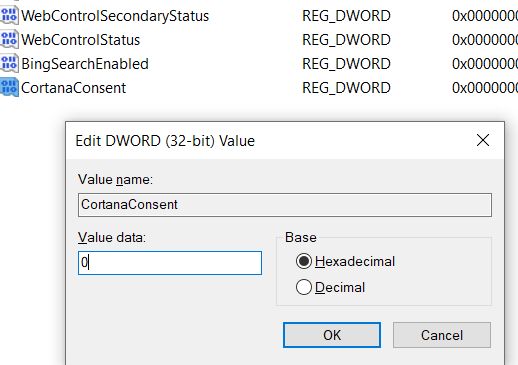
Next, double-click on BingSearchEnabled and enter “0” in the ‘Value data’ field. Then, click on “OK” to disable Bing in File Explorer Search on Windows 10. Remember to choose base as ‘Hexadecimal’ in this entry.
Similar to the above steps, create another D-WORD (32-bit) Value and rename it to CortanaConsent in the same folder.
Now, double-click on it and change the Value data to “0” before hitting the “OK” button.
Restart your computer and from now on, the File Explorer search should work fine without any lagging issue on Windows 10.
Remove File Explorer Search Lag and Bing on Windows 10
So that is how you can fix the lagging issue in File Explorer Search on Windows 10. As Microsoft is increasingly integrating more web services in every part of the OS, it feels the performance has taken a nosedive. The low and mid-range Windows 10 PCs are bearing the brunt of these changes. Now at least, you have a handy guide to fix the Windows 10 search bar performance issues If you think your PC has slowed down over time, I would highly recommend you go through our tutorial on how to speed up Windows 10. Apart from that, if you are still facing the Windows Explorer Search bar lagging issue on your computer, let us know in the comment section below, and we will try to help you out.
